Table of Contents
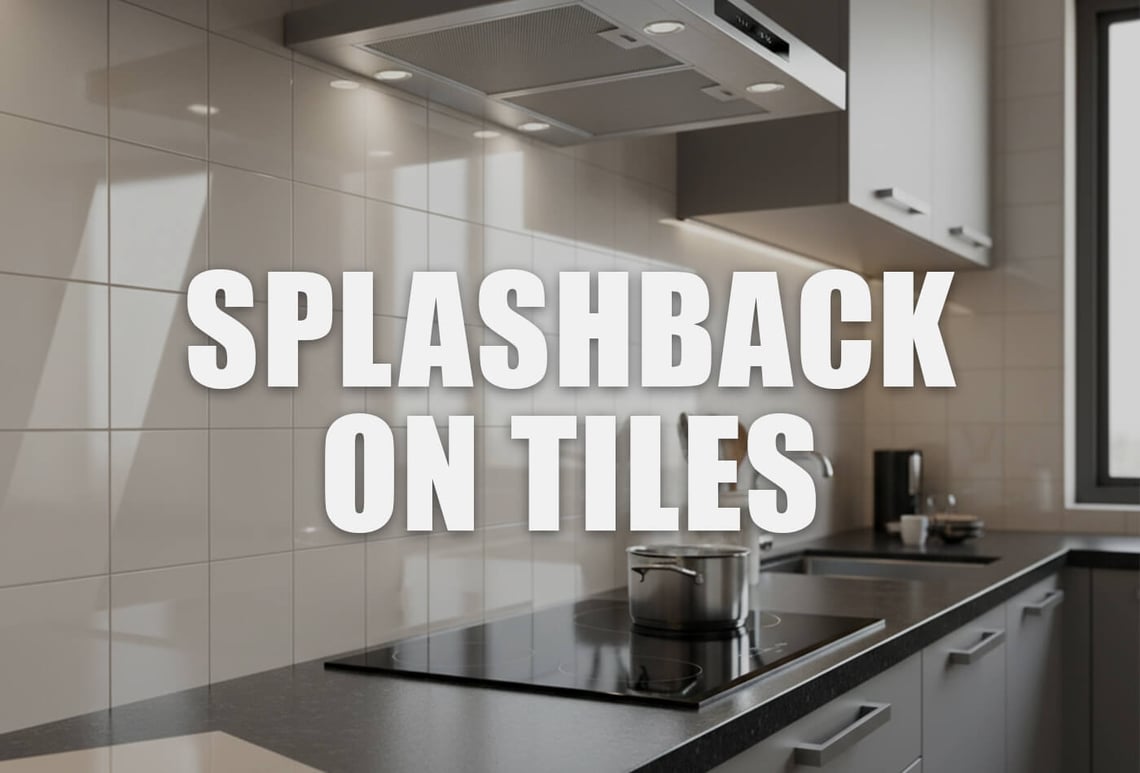
- Can You Put a Splashback Over Tiles?
- Splashback Over Old Tiles vs Replacing Tiles: The Real Difference
- Cost of Splashback on Tiles (UK Reality)
- Glass vs Acrylic Splashback Over Tiles: What Actually Matters
- Installing a Splashback Over Tiles: What the Process Was Really Like
- Is it Safe to DIY a Splashback Over Tiles?
- Kitchen Renovation Without Removing Tiles
- Conclusion – Splashback or Full Retiling?
- Frequently Asked Questions and Answers
Choosing between a splashback on tiles and full retiling isn’t about shortcuts. It’s about priorities. At the time, I wasn’t convinced. Now, having been through the process and having seen it done in dozens of UK kitchens, I can say this.
A couple of years ago, I stood in my kitchen staring at tiles I didn’t hate—but definitely didn’t love anymore. They were clean, intact, and technically “fine.” But fine isn’t what you want when you’ve just spent money on new worktops and appliances.
Like most people, my first instinct was full retiling. Rip everything out, start again, do it properly. Then I actually looked into what that meant.
Dust. Noise. Losing the kitchen for days. And a bill that kept creeping up every time I added labour, waste removal, and “unexpected prep work.”
That’s when someone asked me a simple question:
“Why don’t you just put a splashback on the tiles?”
Can You Put a Splashback Over Tiles?
This is the question everyone asks first, and rightly so: Can you put a splashback over tiles?
Yes. In most cases, absolutely.
But here’s what people don’t always say clearly enough: the tiles underneath matter.
If your existing tiles are:
firmly fixed
reasonably flat
not crumbling or hollow
Then installing a kitchen splashback on tiles is not just possible—it’s sensible.
So if everything is okay, why is there even a problem? If you also have the same question, let me tell you, the problem starts if your tiles are cracked, loose, or uneven. Run your hands over the tiles. If you can feel ridges with your hand, it is a sign that splashback is not going to be a perfect fit. A splashback doesn’t magically fix a bad surface; it relies on it.
In my case, the tiles were old but solid. No movement. No drama. That made the decision easier.
Also Read: What is The Right Finish For Backdrop Kitchen Tiles in UK Kitchens?
GREY MIRROR QUARTZ

£271.04
Grey Mirror Quartz has a surface that is predominantly dominated by grey much like the name suggests. The entire slab is patterned with various sized glass and mirrored flecks. It is a dream come true for kitchens, baths, entryways, laundry… read more
SHIVAKASHI GRANITE

£365.54
Shivakashi Granite is a Beige which is a yellow granite with a fine to medium-grained pinkish-beige tone that dazzles onlookers. The granite stone product is stylish and enticing, with light brown and red veins and spots. This South Indian stone… read more
MYSTIC GOLD GRANITE

£360.44
Mystic gold is a medium grained granite cream granite with tightly packed mineral deposits of black and white. The cream granite is suited for countertops. It is recommended for interior and exterior projectsNatural stone Granite does not come in regularly… read more
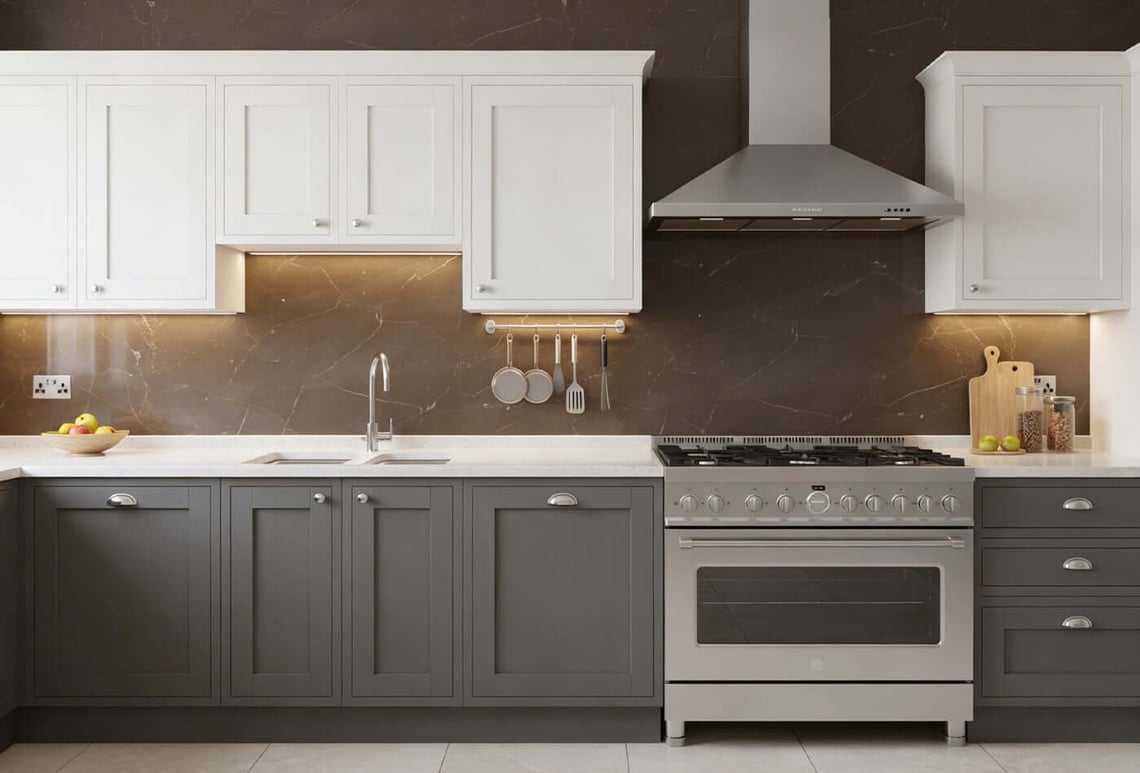
Splashback Over Old Tiles vs Replacing Tiles: The Real Difference
On paper, replacing tiles vs installing a splashback looks like a simple cost comparison. In reality, it’s also about disruption and risk.
Full retiling sounds clean. It isn’t.
Removing tiles is the messiest part of any kitchen renovation. Dust gets everywhere. Walls often need repairing once tiles come off. And timelines stretch, especially if trades overlap or materials are delayed.
I’ve seen UK retiling jobs quoted at £700 end up closer to £2,000 by the time everything is finished.
A splashback over old tiles is controlled.
There’s no demolition phase. No rubble. No surprise wall damage. The job is contained, predictable, and fast.
In my case, the splashback went up in a single visit. The kitchen was usable the same day. That alone was worth a lot.
Cost of Splashback on Tiles (UK Reality) 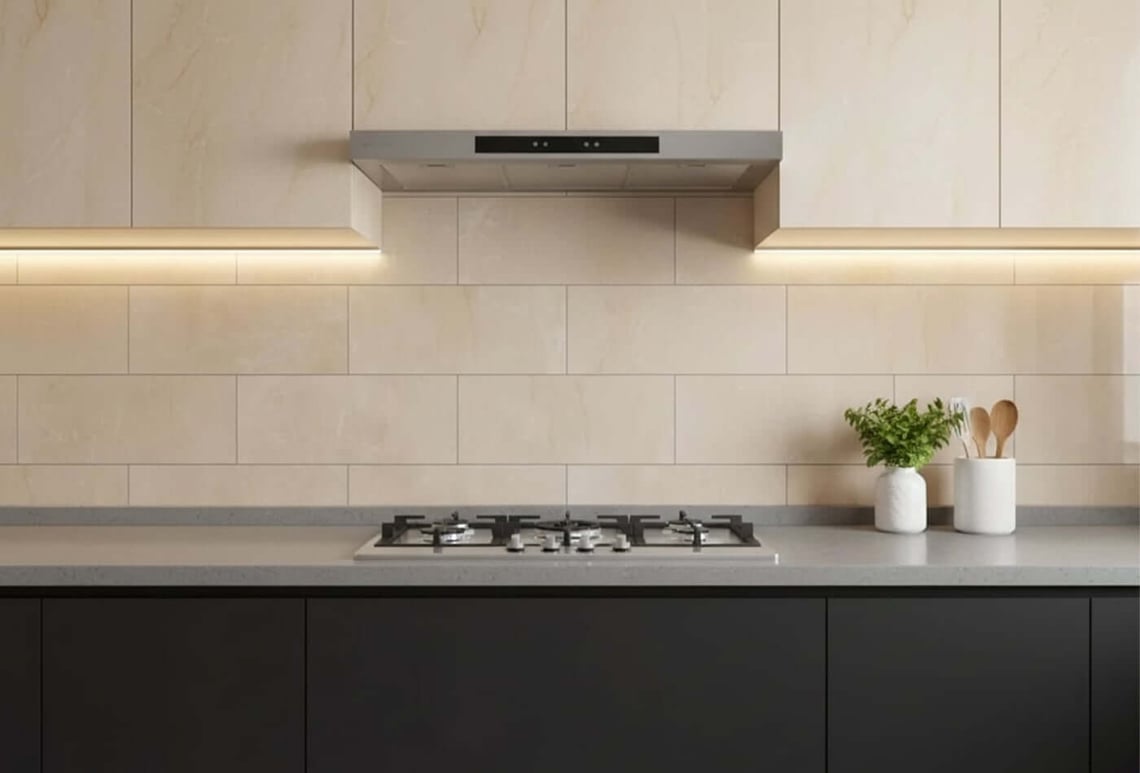
People often ask for exact numbers, but the truth is cost depends heavily on material and size.
That said, here’s what I’ve consistently seen in the UK market:
Acrylic splashback over tiles: usually the most affordable
Glass splashback over tiles: mid-range, very popular
Stone splashback (quartz, granite, porcelain): premium
Stone Splashbacks Advantages:
Yes, natural or engineered stone can also be installed as a splashback over tiles, depending on wall condition and weight limits.
Premium
Natural appearance
Durable and long-lasting
Check Out Latest UK Tiles, Call 0330 113 5868 to Order
Acrylic Splashback Advantages:
Easy to handle and install
Budget-friendly
Smooth, modern appearance
Limitations:
Not suitable behind gas hobs or areas exposed to high heat.
Glass vs Acrylic Splashback Over Tiles: What Actually Matters
I went back and forth on this for longer than I’d like to admit.
Here’s the honest breakdown, not the brochure version.
Glass splashbacks
Look seamless and polished
Easy to clean (no grout lines at all)
Handle heat better behind hobs
Cost more and need professional fitting
Acrylic splashbacks
Cheaper
Lightweight
Easier for DIY splashback on tiles
Slightly less heat resistant
If you are planning to install a splashback directly behind your gas hob, glass can be the safer option. But if you need it behind sinks and in the prep areas, acrylic is perfectly fine.
In the end, I chose glass—not because it was “better,” but because it fit how I use the kitchen.
Also Read: Budget Kitchen Hob Splashback Ideas UK
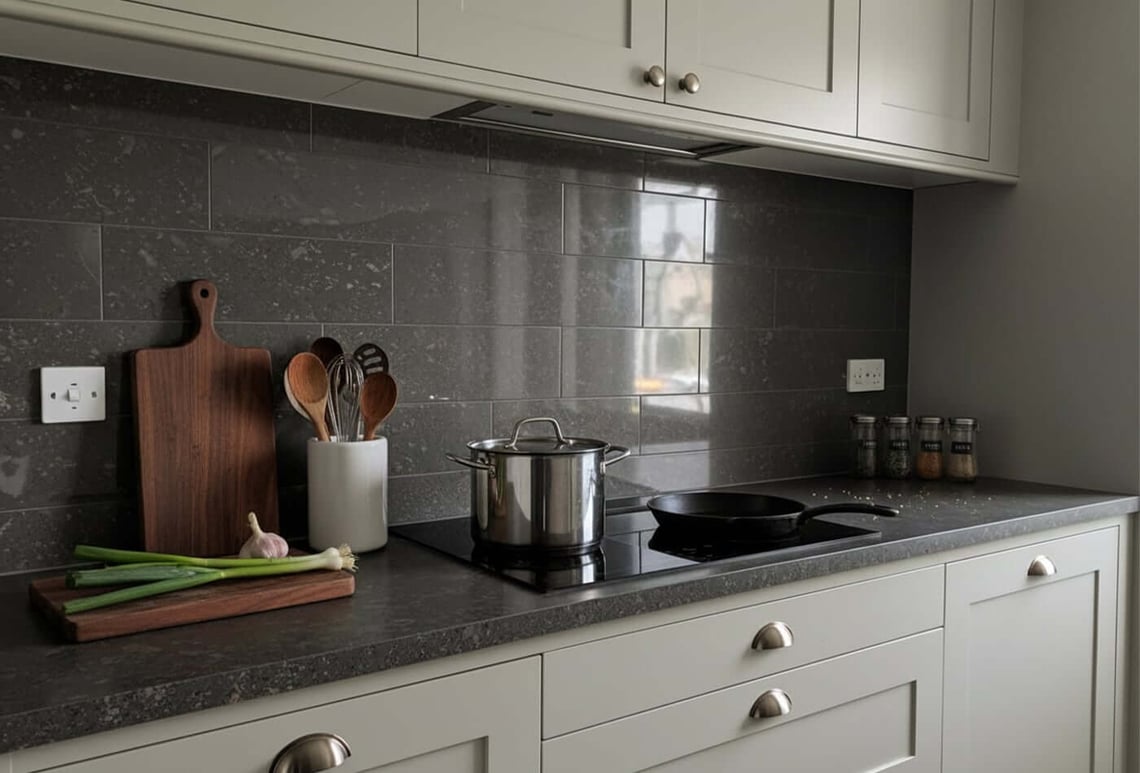
Installing a Splashback Over Tiles: What the Process Was Really Like
I expected noise and disruption. It didn’t happen.
The actual process was:
Tiles cleaned thoroughly
Measurements double-checked
Adhesive applied
Panel fixed and sealed
No dust clouds. No half-finished walls. No waiting for grout to dry.
If you’re someone who values predictability, this is where installing a splashback over tiles really shines.
Is it Safe to DIY a Splashback Over Tiles?
You can do a DIY splashback on tiles—especially with acrylic—but you shouldn’t feel pressured to.
DIY makes sense if:
The wall is simple
There are no awkward sockets
You’re confident measuring and cutting
Glass? I wouldn’t recommend DIY unless you’ve done it before. One bad cut or uneven fix, and the cost savings disappear.
DESERT PEARL LIMESTONE TILES

£59.85
Desert Pearl Limestone is a pleasant grey natural stone tile with the same durability as marble. These strong limestone tiles are suitable for both interior and exterior projects. Around swimming pools, on patios, and in living rooms and kitchens, Desert… read more
DESERT PEARL LIMESTONE TILES
£59.85
Desert Pearl Limestone is a pleasant grey natural stone tile with the same durability as marble. These strong limestone tiles are suitable for both interior and exterior projects. Around swimming pools, on patios, and in living rooms and kitchens, Desert… read more
Kitchen Renovation Without Removing Tiles
Looking back, this was the biggest win for me.
A kitchen renovation without removing tiles meant:
No living in chaos
No extended timelines
No hidden repair costs
The splashback didn’t feel like a compromise. It felt intentional.
Friends who walked in assumed the kitchen had been fully redone. No one asked what was underneath.
That’s the quiet advantage of a splashback over tiles—it changes what you see without fighting what already works.
Conclusion – Splashback or Full Retiling?
It is a good decision to go for re-tiling when your tiles are damaged or you genuinely want a completely different layout. But if it is a case where your kitchen tiles have been very old and you need them to look new, then just install a splashback over existing tiles. This will be faster. Cleaner. Usually cheaper. And far less stressful.
I went in thinking I was “cutting corners.”
I came out realising I’d avoided an unnecessary headache.
And honestly? I’d do it the same way again.
Frequently Asked Questions and Answers
Can You Install a Splashback on Uneven Tiles?
Yes, but preparation matters. Installers typically use strong adhesive designed for tiled surfaces. They account for grout depth when mounting. They ensure tiles are securely bonded to the wall.
How Is a Splashback on Tiles Installed?
Tiles are cleaned and degreased. Measurements are taken precisely. Adhesive is applied to the splashback. The panel is fixed directly over the tiles. Edges are sealed for a neat finish.
Do We Need To Drill When Installing Splashback Over Tiles?
Standard installation process of splashback over tiles: no drilling is usually required.
Can a Splashback Hide Uneven Tiles?
To an extent, yes. Most splashbacks can bridge shallow grout lines and minor tile variations.