

Erase Kitchen Worktop Scratches: Simple DIY Repair Guide
GMS Kumar
Kitchen worktops take a beating, right? Between chopping, spills, and just daily life, scratches can start to show up. It’s a bummer when that new-looking surface starts to look a bit rough. But don't worry, you don't always need to call in the pros or buy a whole new top. Lots of times, you can actually fix those annoying scratches yourself with a few simple steps. This guide will walk you through how to repair kitchen worktop scratches on different materials, so you can get that smooth, clean look back.
Key Takeaways
- Assess the scratch severity and gather the right tools before starting any repair.
- Different worktop materials like laminate, solid surface, granite, marble, quartz, and wood require specific repair methods.
- Light scratches can often be buffed out or filled with pastes, waxes, or color-matched fillers.
- Deeper scratches might need sanding or specialized fillers, but always test in an inconspicuous area first.
- Preventing future scratches with cutting boards, trivets, and careful handling is the best long-term strategy.
Assess And Prepare For Worktop Scratch Repair
Before you grab any tools or cleaning supplies, let's take a moment to figure out what we're dealing with. It's like a doctor checking a patient before prescribing medicine, you know? You wouldn't just start poking around without knowing what's wrong.
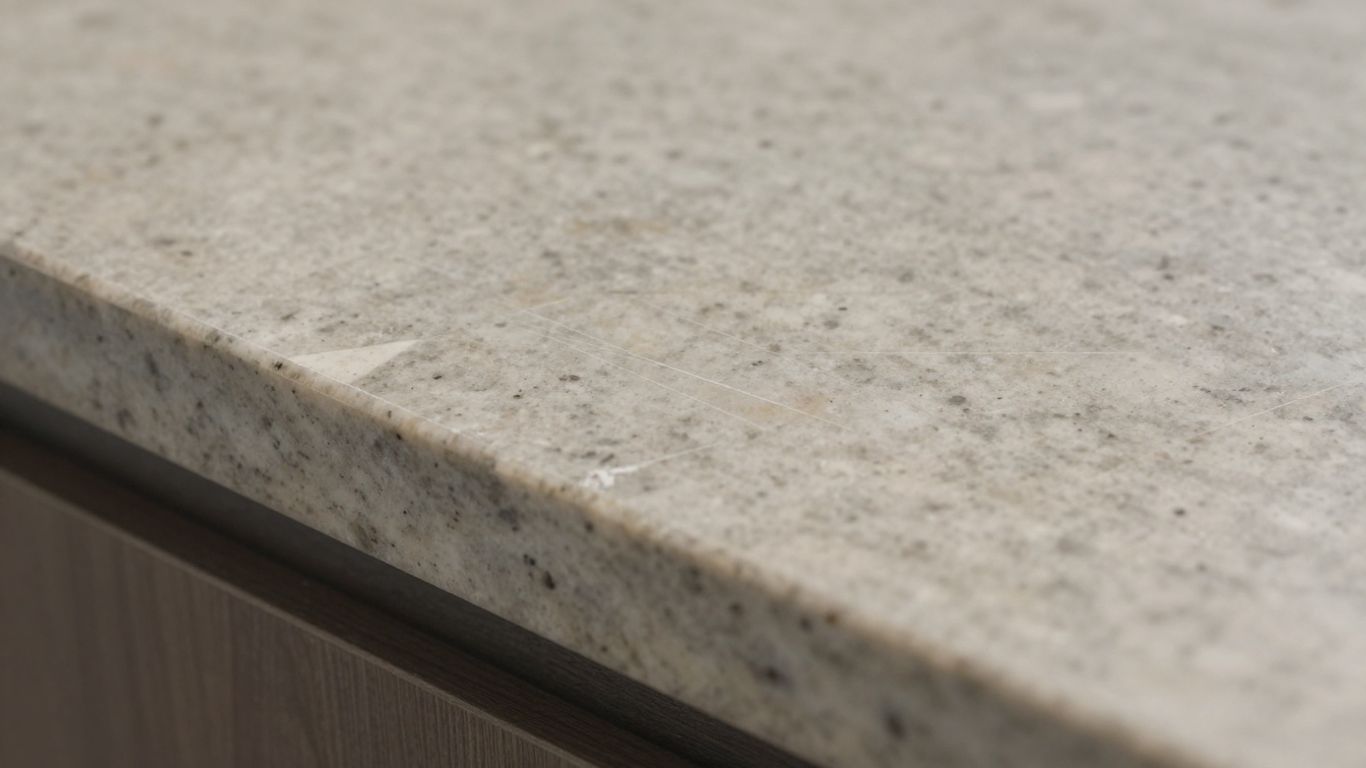
Understanding The Severity Of Worktop Scratches
First things first, give that scratch a good look. Is it just a faint line on the surface, or does it feel like a real gouge? We're talking about different levels of damage here. Light scratches are usually just in the top layer and might not even catch your fingernail. Deeper ones, though, have gone through that top coat and might feel rough or even catch on things. Knowing the difference helps you pick the right fix. Sometimes, a professional assessment might be needed for really tricky situations, especially if you're unsure about the material's durability [80b4].
Gathering Essential Tools For Repair
Okay, so you know what you're up against. Now, let's get our toolkit ready. You don't need a whole workshop, but having the right stuff makes the job way easier. Depending on your worktop material, you might need:
- A good cleaner (warm, soapy water usually does the trick)
- Soft cloths for cleaning and buffing
- A plastic spatula or an old credit card for applying fillers
- The specific repair kit or filler for your worktop type (more on that later!)
- Fine-grit sandpaper (for certain materials only)
- A sealant (if your worktop needs it)
Preparing Your Work Area For Scratch Removal
This part is super important. You don't want to make a bigger mess or get gunk everywhere. Start by clearing off the counter space around the scratch. Then, give the whole area a good clean with warm, soapy water. Get rid of any crumbs, grease, or sticky stuff. Once it's clean, dry it off completely with a soft cloth. This makes sure the repair product sticks properly and you can actually see what you're doing [144e].
Always work in a well-lit area. It's easy to miss spots or overdo it if you can't see clearly. Good lighting makes all the difference in getting a smooth, even finish.
Repairing Scratches On Laminate Kitchen Worktops
Laminate worktops are pretty common in kitchens, and while they look nice and can be quite tough, they aren't immune to scratches. Little nicks and scrapes can happen from everyday use, but thankfully, fixing them on laminate is usually pretty straightforward. You don't always need to call in the pros for minor damage.
Filling Light Scratches With Colorfill Paste
For those annoying light scratches that haven't gone too deep, a product called Colorfill is your best bet. It's basically a colored paste that you use to fill in the scratch. The trick is to get a color that matches your worktop as closely as possible. You can often find these repair kits online or at hardware stores.
Here's a quick rundown of how to use it:
- Clean the area: Make sure the scratched spot is totally clean and dry. Any dirt or grease will mess up the repair.
- Apply the paste: Use a small spatula or even an old credit card to carefully push the Colorfill paste into the scratch. Don't glob it on too thick.
- Smooth it out: Try to get the paste level with the rest of the worktop surface. Wipe away any big blobs that are sticking up.
Remember, the goal is to make the scratch less noticeable. It might not disappear completely, especially if the scratch is a bit deeper or your worktop has a complex pattern.
Smoothing And Drying The Laminate Repair
Once you've got the paste in there, you need to let it do its thing. The instructions on the Colorfill product will tell you how long it needs to dry, but it's usually just a few minutes. While it's still a bit soft, you want to smooth it out so it's flush with the surface. This is where that spatula or credit card comes in handy again. Gently scrape off any excess that's sitting on top of the worktop, being careful not to pull the filler out of the scratch itself. You can find some handy laminate repair kits that include the right tools.
Removing Excess Filler And Buffing The Surface
After the filler has had enough time to dry completely, you might still have a little bit of excess that's not perfectly level. You can gently scrape this off with your spatula. Sometimes, a bit of a solvent cleaner can help clean up any residue, but be sure to test it on an inconspicuous spot first to make sure it doesn't damage your worktop. Once all the excess is gone, grab a clean, soft cloth and buff the repaired area. This helps blend it in and restore some shine. If the scratch is still visible, you might need to repeat the process. Don't worry if it's not perfect the first time; sometimes a second application makes all the difference. For more tips on keeping your worktops looking good, check out our guide on preventing future scratches.
Addressing Scratches On Solid Surface Countertops
Solid surface countertops, like Corian and similar materials, are known for their durability and seamless look. However, even these can pick up scratches over time. Don't panic if you notice a few marks; most can be fixed with a bit of effort.
Cleaning Solid Surface Worktops Before Repair
Before you even think about fixing a scratch, the first step is always to get the area clean. You want to remove any dirt, grease, or residue that might be hiding in or around the scratch. This way, you're not just rubbing more gunk into the surface. A simple mix of warm water and a little dish soap usually does the trick. Use a soft cloth and wipe down the entire area. After washing, rinse it well with clean water and then dry it completely with a soft towel. This prep work is super important for getting a good repair.
Using Specific Care Kits For Different Finishes
Solid surface materials can come in different finishes – matte, satin, or even high gloss. The way you fix a scratch often depends on that finish. For minor scuffs, a non-abrasive cleaner or even a paste made from baking soda and water can work wonders. You just gently rub it into the scratch with a soft cloth in small circles. For slightly deeper marks, you might need a bit more. Many manufacturers offer specific care kits designed for their products. These kits often include a mild abrasive cleaner and a polishing compound tailored to the material's finish. Always check what finish your countertop has before you start, and if you're unsure, a kit designed for solid surfaces is usually a safe bet.
Techniques For Repairing Corian And Similar Materials
When it comes to fixing scratches on Corian or other solid surface materials, the approach can vary. For very light surface scratches, buffing with a soft cloth and a bit of furniture paste wax can sometimes be enough to make them disappear. You're essentially polishing the area to blend the scratch in. If the scratch is a bit more noticeable, you might try a mild abrasive cleaner, working it in small circles. For deeper scratches, things get a little more involved. You might need to use a fine-grit sandpaper, starting with something like P240 grit and working your way up, but this is usually only recommended for matte finishes and requires care not to create more damage. If you're dealing with a significant gouge, it might be time to consider a specialized filler or even professional help. Remember, patience is key here; you don't want to make the problem worse.
Always test any cleaning or repair product on an inconspicuous area first. This helps you see how the material reacts and if it causes any discoloration or unwanted texture changes before you tackle the main repair.
Restoring Granite And Marble Kitchen Surfaces
Granite and marble are beautiful, but they can get scratched. Don't panic, though. Often, you can fix these marks yourself without calling in the pros.
Buffing Light Scratches on Granite
For those minor scuffs on granite, the first step is usually a bit of gentle buffing. Grab a soft cloth and some water. Work in small circles over the scratch. This simple action can often make the scratch disappear or at least become much less noticeable. It's amazing what a little elbow grease can do. If the scratch is still there, you might try a mild abrasive paste.
Using Baking Soda Paste for Marble Scratches
Marble is a bit softer than granite, so it shows scratches more easily. For light damage on marble, a paste made from baking soda and water is your best friend. Mix it up until it's like toothpaste. Apply it to the scratch and gently rub with a soft cloth. You can also use a very fine steel wool pad (like 0000 grade) with the paste for slightly tougher marks. Just be gentle; you don't want to create more problems.
Sanding Deeper Marks on Granite and Marble
When a scratch is too deep for just buffing or baking soda, you might need to get a little more serious. For granite, you can try a diamond sanding pad, but be careful – these are quite abrasive. Always use water with it and work slowly. For marble, you might need to move up to fine-grit sandpaper, starting with a finer grit and gradually moving to a coarser one if needed. After sanding, you'll want to restore the shine with a polish or wax suitable for your stone. It’s a good idea to reseal your granite or marble after any repair work to keep it protected.
Remember that patience is key when working with natural stone. Rushing the process can lead to more damage than you started with. Always test any repair method in an inconspicuous area first.
Fixing Scratches On Quartz And Ultra-Compact Worktops
Quartz and ultra-compact surfaces are known for being super tough, almost like they're designed to resist just about anything. But, let's be real, accidents happen. Maybe you slid a heavy pot across the surface, or a sharp object made an unexpected appearance. Don't panic just yet. Often, these marks aren't as bad as they first appear.
Buffing Minor Scratches On Quartz
For those really light, almost invisible scratches that just catch the light funny, you might be able to buff them out. Think of it like polishing a car – a gentle approach can make a big difference. You can try a bit of baking soda mixed with water to make a paste. Gently rub this paste over the scratch with a soft cloth, using small circular motions. Work from the center of the scratch outwards. After a bit of gentle rubbing, wipe it clean with a damp cloth and then dry it thoroughly. Sometimes, this is all it takes to make those tiny marks disappear.
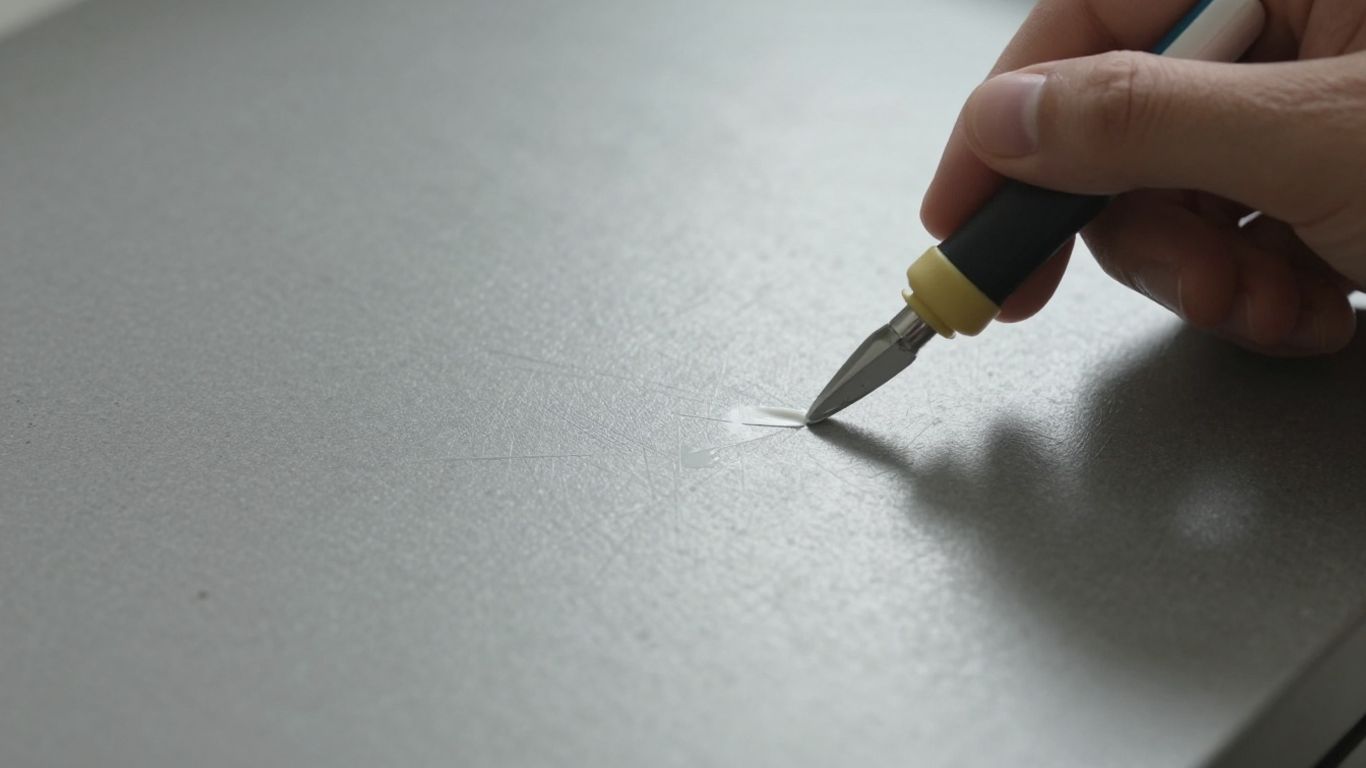
Filling Deeper Scratches With Quartz Repair Filler
If buffing doesn't cut it, and the scratch is a bit more noticeable, you'll need something a bit more substantial. For deeper gouges, a specialized quartz repair filler is your best bet. These kits are designed to match the color and finish of your countertop. You'll typically apply the filler carefully into the scratch using a small spatula or putty knife. The key here is to get it as level as possible with the surrounding surface. Once it's dry, you might need to gently sand it down to match the original finish, and then buff it to a shine. It's a bit more involved, but it can make those deeper scratches almost invisible. If you're dealing with a high-gloss finish, getting a perfectly uniform look can be tricky, so take your time.
Repairing Scratches On Sintered Stone Surfaces
Sintered stone, like Dekton or Neolith, is incredibly durable, but it's not entirely immune to scratches. For minor marks, a baking soda paste, similar to the quartz method, can sometimes work. However, for anything more significant, it's often best to use a repair kit specifically made for sintered stone or ultra-compact surfaces. These kits usually contain fillers or resins that are designed to bond well with the material and withstand heat and wear. Always follow the manufacturer's instructions precisely. If you're unsure, especially with expensive surfaces, it might be worth calling in a professional to avoid making things worse.
Remember, even the toughest surfaces can get marked. The trick is to address them promptly and use the right methods. For very fine scratches, a bit of gentle buffing might be all that's needed. Deeper damage usually requires a filler, and it's important to use products designed for your specific countertop material. Taking care of these issues early can save you a lot of hassle down the line.
Here's a quick rundown of what you might need:
- Baking Soda Paste: For light scratches on quartz.
- Quartz Repair Filler Kit: For deeper scratches on quartz.
- Sintered Stone Repair Kit: For scratches on ultra-compact surfaces.
- Soft Cloths: For cleaning and buffing.
- Putty Knife or Spatula: For applying filler.
- Gloves: To protect your hands.
Always start with the least abrasive method and work your way up if needed. And if you're ever in doubt, especially with high-end materials, it's always safer to consult a professional. You can find specialized quartz countertop repair kits online or at home improvement stores.
Repairing Scratches On Wooden Kitchen Countertops
Wood countertops can add a warm, natural feel to your kitchen, but they're also prone to scratches from everyday use. Don't worry, though; most of these marks can be fixed right at home. It just takes a little patience and the right approach.
Sanding Wood Surfaces With Fine-Grit Sandpaper
For scratches that have gone a bit deeper than just the surface finish, sanding is usually the way to go. You'll want to start by removing any existing finish, like varnish or sealant, from the affected area. A fine-grit sandpaper, something around 240-grit, is a good starting point. Always sand with the grain of the wood, not against it, to avoid making things look worse. If you have a larger area or just want to make the job quicker, a power sander can be used, but be extra careful not to overdo it. The goal here is to smooth out the scratch so it's level with the rest of the wood.
Remember, sanding removes material. It's better to start with a finer grit and work your way up if needed, rather than taking off too much wood at once.
Reapplying Finishing Coats For Uniformity
Once you've sanded down the scratches and the surface feels smooth, it's time to bring back that protective finish. You'll want to apply a new coat of your chosen finish, whether that's a varnish, oil, or sealant. Apply it in thin, even layers. Trying to slap on one thick coat often leads to an uneven look, and you'll end up with blotches. It's usually best to apply the finish to the entire worktop, not just the repaired section. This way, the whole surface looks consistent and uniform. Let each coat dry completely according to the product's instructions before applying the next. You might need a couple of coats to get that original sheen back. This is a good time to check out tips for wood countertop care to keep it looking good long-term.
Using Wax Sticks To Fill Wood Scratches
Sometimes, you've got minor nicks and shallow scratches that don't really need a full sanding and refinishing job. For these, a wax stick or wood filler stick can be a real lifesaver. These come in various wood tones, so you can find one that closely matches your countertop. Just warm the stick slightly (some people use a hairdryer on a low setting, but be careful not to melt it) and then rub it directly into the scratch. Use a plastic putty knife or a credit card to scrape off any excess wax that sits on top of the wood. Then, buff the area gently with a soft cloth. It won't make the scratch disappear completely, but it will fill it in and make it much less noticeable, blending it with the surrounding wood. This is a quick fix for those little imperfections that happen with daily use.
Preventing Future Kitchen Worktop Scratches
So, you've managed to buff out those annoying scratches, or maybe you're just starting out and want to keep your kitchen surfaces looking pristine. The best way to deal with scratches is, of course, to stop them from happening in the first place. It sounds obvious, but a little bit of mindfulness goes a long way in protecting your investment.
Utilizing Cutting Boards And Trivets
This is probably the most common piece of advice, and for good reason. Your worktop isn't a cutting board, no matter how tough it seems. Knives can leave marks on almost any surface, even quartz and granite, if you're not careful. Always have a dedicated cutting board handy for chopping, slicing, and dicing. Similarly, hot pots and pans can cause thermal shock or leave scorch marks, especially on materials like laminate or solid surfaces. Using trivets or heat-resistant mats is a simple habit that saves a lot of potential heartache.
- Cutting Boards: Keep a variety of sizes for different tasks. Wood, bamboo, or plastic are all good options.
- Trivets/Hot Pads: Use these for anything coming directly from the oven or stovetop. Silicone, cork, or metal trivets work well.
- Placement: Make sure trivets are large enough to fully support the hot item.
Avoiding Dragging Heavy Items
Think about how often you slide pots, pans, or appliances across your countertops. Even if you don't see an immediate scratch, this constant friction can dull the finish over time and create micro-scratches that eventually become noticeable. It's better to lift items completely when moving them. This is especially important for heavier materials like granite or marble, which can chip if an edge catches on something. For appliances like stand mixers or coffee makers that you might move regularly, consider placing them on a small mat or tray that can slide more easily, or simply get into the habit of lifting them.
A simple rule of thumb: if it feels heavy to you, it's probably heavy enough to potentially damage your worktop if dragged. Lift, don't slide.
Regular Cleaning And Prompt Spill Management
Keeping your worktops clean isn't just about appearance; it's about protection. Certain substances, especially acidic ones like lemon juice or vinegar, can etch certain materials like marble if left to sit for too long. Spills should be wiped up immediately. For general cleaning, stick to mild detergents and soft cloths. Avoid abrasive cleaners or scouring pads, as these can create their own set of scratches. For specific materials, like solid surface countertops, using the recommended cleaning products can make a big difference in maintaining their finish and preventing damage.
| Material Type | Recommended Cleaning Agent | Avoid |
|---|---|---|
| Laminate | Mild soap and water | Abrasive cleaners, harsh chemicals |
| Solid Surface | Non-abrasive cleaner | Window cleaners, abrasive pads |
| Granite/Marble | pH-neutral cleaner | Acidic or alkaline cleaners, oils |
| Quartz/Ultra-Compact | Mild soap and water | Abrasive cleaners, strong solvents |
| Wood | Mild soap and water | Excessive water, harsh detergents |
Keep Your Countertops Looking Great
So there you have it. Fixing those annoying scratches on your kitchen worktops doesn't have to be a huge headache. With a little patience and the right approach for your specific material, you can often make those marks disappear or at least look a lot less obvious. Remember to always clean the area first and use the gentlest method that works. And hey, if all else fails, or the damage is just too much, don't be afraid to call in a pro. But for most everyday scuffs, you've now got the know-how to tackle them yourself and keep your kitchen looking sharp.
Frequently Asked Questions
Can I really make deep scratches disappear completely at home?
For light scratches, you can often make them vanish. However, really deep gouges might still be a little noticeable, even after you try to fix them. Sometimes, a professional is needed for the best results on very deep damage.
What's the best way to fix a scratch on a wooden countertop?
For wood, you'll want to start by sanding down the scratch using fine-grit sandpaper. Make sure you sand in the same direction as the wood grain. After that, you'll need to put on a new coat of finish to make it look smooth and even again.
Is it okay to use regular cleaning stuff on my worktop after fixing a scratch?
After you've fixed a scratch, it's usually best to let the repair settle for a bit. Then, stick to mild cleaners and soft cloths. Avoid anything harsh or super abrasive, as that could damage your fresh repair or the rest of the surface.
My worktop has a busy pattern. How do I match the repair color?
Matching colors on patterned or textured worktops can be tricky. Try to find a filler or paste that looks as close as possible to your countertop's colors. If it's a really complex design, you might get a better, more seamless look by calling in a pro.
Should I worry about scratches on quartz or granite countertops?
Quartz and granite are pretty tough and don't scratch easily. However, if they do get marked, you can often buff out minor scratches with things like baking soda paste. For deeper ones, you might need special fillers designed for these stone surfaces.
How can I stop my worktop from getting scratched in the first place?
The best defense is a good offense! Always use cutting boards when chopping food. Put hot pans on trivets or mats, and try not to drag heavy or sharp objects across the surface. Wiping up spills right away also helps keep your worktop looking good.


