

Choosing the Best Wood Oil for Your Worktops: A Comprehensive Guide
GMS Kumar
Choosing the right finish for your wooden worktops can feel a bit overwhelming, right? You want something that looks good, protects against spills and wear, and doesn't make a mess of your kitchen. Forget those complicated finishes that chip or peel. We're talking about wood oil for worktops here – a classic choice that's making a big comeback for good reason. It’s natural, it’s tough, and it keeps your wood looking like wood. Let’s figure out which wood oil for worktops is your best bet.
Key Takeaways
- Wood oil penetrates wood to protect it from moisture and wear, enhancing its natural look without a plastic feel.
- Traditional oils like Danish, Tung, and Teak oil offer natural protection and a beautiful finish, though they might need more upkeep.
- Modern wood oils, like Osmo TopOil, combine oil and wax for better durability, stain resistance, and easy repairs.
- Proper surface prep, including cleaning and sanding, is vital before applying any wood oil for worktops.
- Wood oil is generally easier to repair and maintain on worktops compared to varnish, keeping the natural wood appearance.
Understanding Wood Oil For Worktops
What is Wood Oil?
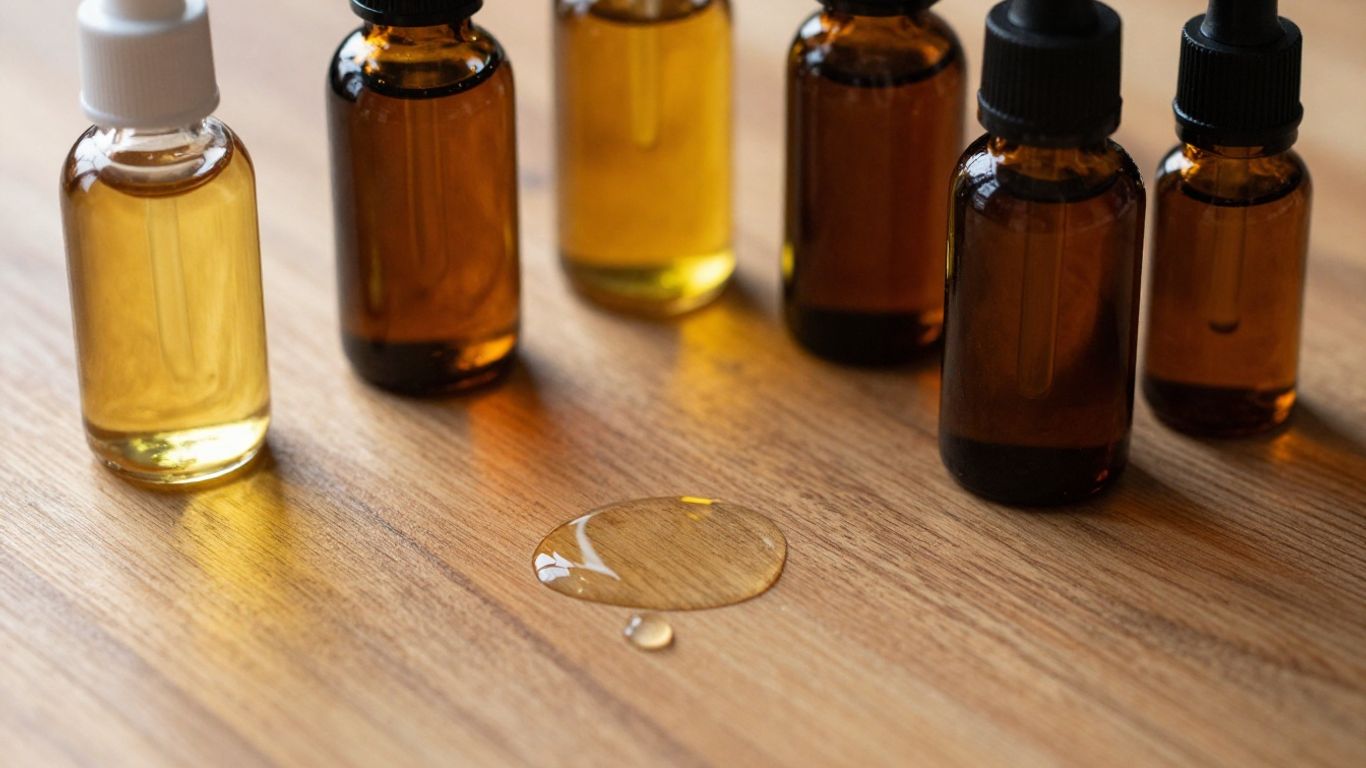
Wood oil is essentially a liquid finish that penetrates the surface of timber, rather than forming a film on top like varnish or lacquer. It's typically made from natural oils, sometimes combined with resins or waxes, designed to soak into the wood's pores. This process nourishes the wood, bringing out its natural color and grain, and providing a protective barrier against moisture and wear. Think of it like moisturizing your skin – it goes in deep to keep the material healthy and looking good. There are many types of wood oils available, each with slightly different properties, which is why choosing the right one for your worktops matters. Some popular options include Tung oil and Danish oil, each offering a unique finish and level of protection for your wooden surfaces.
Why Choose Wood Oil For Worktops?
When it comes to kitchen worktops, durability and aesthetics are key. Wood offers a warm, natural look that many people love, but it needs protection to stand up to the demands of a busy kitchen. This is where wood oil shines. Unlike surface coatings that can crack or peel, oil soaks in, allowing the wood to move naturally with changes in humidity and temperature. This flexibility means fewer issues with the finish failing over time. Plus, if your worktop does get scratched or marked, oil finishes are generally much easier to repair than other options. You can often just reapply oil to the affected area, blending it in without needing to refinish the entire surface. It’s a practical choice for maintaining that beautiful wood look.
The Benefits of Wood Oil Protection
Using wood oil on your worktops offers a range of advantages that make it a top choice for many homeowners. It’s not just about looks; it’s about performance too.
- Natural Beauty: Oil enhances the wood's inherent grain and color, giving it a rich, natural appearance without a plastic-like sheen.
- Moisture Resistance: While not completely waterproof, a well-oiled surface repels spills and moisture, preventing water damage and staining.
- Breathability: The wood can still 'breathe' with an oil finish, which helps prevent issues like warping or cracking.
- Ease of Repair: Minor scratches or wear marks can often be buffed out or spot-treated with more oil, making maintenance straightforward.
- Food Safety: Many wood oils, especially those formulated for kitchens, are food-safe once cured, making them ideal for surfaces where food is prepared. The Osmo TopOil advantage is a prime example of this, combining oil and wax for a robust, food-safe finish.
Wood oil works by penetrating the wood's surface, offering protection from within. This method allows the wood to retain its natural feel and character, unlike film-forming finishes that can feel artificial and are prone to chipping or peeling under stress. It's a finish that respects the material's natural properties.
Exploring Traditional Wood Oil Options
Wood oils have been around for ages, and for good reason. They work by soaking into the wood, filling up all those tiny spaces, and then hardening. This makes the wood tougher and more resistant to water and general wear. While newer finishes are out there, a lot of folks still stick with these old-school oils because they give wood a really natural look and feel. Plus, they're pretty straightforward to use, even if they might need a bit more upkeep than some modern options.
Danish Oil: The Versatile All-Rounder
Danish oil is a popular choice because it's a bit of a jack-of-all-trades. It's usually a mix of tung oil or linseed oil, with a bit of varnish and solvent thrown in. This blend means it penetrates the wood well, like a pure oil, but also dries to a harder, more protective finish thanks to the varnish. It's great for all sorts of projects, from furniture to kitchen worktops, and gives a nice, subtle sheen. It's a good starting point if you're not sure where to begin with wood oils.
Tung Oil: Purity and Natural Finish
If you're after a really natural look, pure tung oil is the way to go. It comes straight from the nut of the tung tree and is known for creating a beautiful, matte finish that really lets the wood's natural grain shine through. It's also quite water-resistant once it's fully cured, which can take a little while. Because it's so pure, it doesn't contain any added dryers or varnishes, making it a favorite for people who want a very authentic, natural finish. It's a bit more involved to apply than some other oils, often requiring multiple thin coats, but the result is worth it for that classic look. You can find a good range of wood oils at Wood Finishes Direct.
Teak Oil: Ideal for Specific Applications
Don't let the name fool you; teak oil isn't actually made from teak trees. It's typically a blend that includes linseed oil, tung oil, and some mineral spirits, often with a bit of varnish. Its main job has traditionally been to protect outdoor wood, like garden furniture or boat bits, helping to slow down that greying effect wood gets from the sun and weather. It's a thinner oil, which means it works best on hardwoods. For softer woods, you might find it soaks in a lot, meaning you use more product for less coverage. If you're working on outdoor projects, this might be your go-to, offering decent protection against the elements.
When choosing between these traditional oils, think about what you're trying to achieve. Are you looking for maximum natural beauty, all-around protection, or something specific for outdoor use? Each oil has its strengths, and picking the right one makes a big difference in the final look and how well your worktop holds up.
Here's a quick rundown:
- Danish Oil: Good all-rounder, offers decent protection and a subtle sheen. Easy to apply.
- Tung Oil: For a pure, natural, matte finish. Excellent water resistance when cured.
- Teak Oil: Best suited for hardwoods and outdoor applications, protects against weathering.
Remember, no matter which oil you choose, proper preparation is key. Making sure the wood is clean and smooth before you start will make a huge difference in how the oil goes on and how it looks in the end. For more on preparation, check out the section on surface preparation steps.
Modern Innovations in Wood Oil Technology
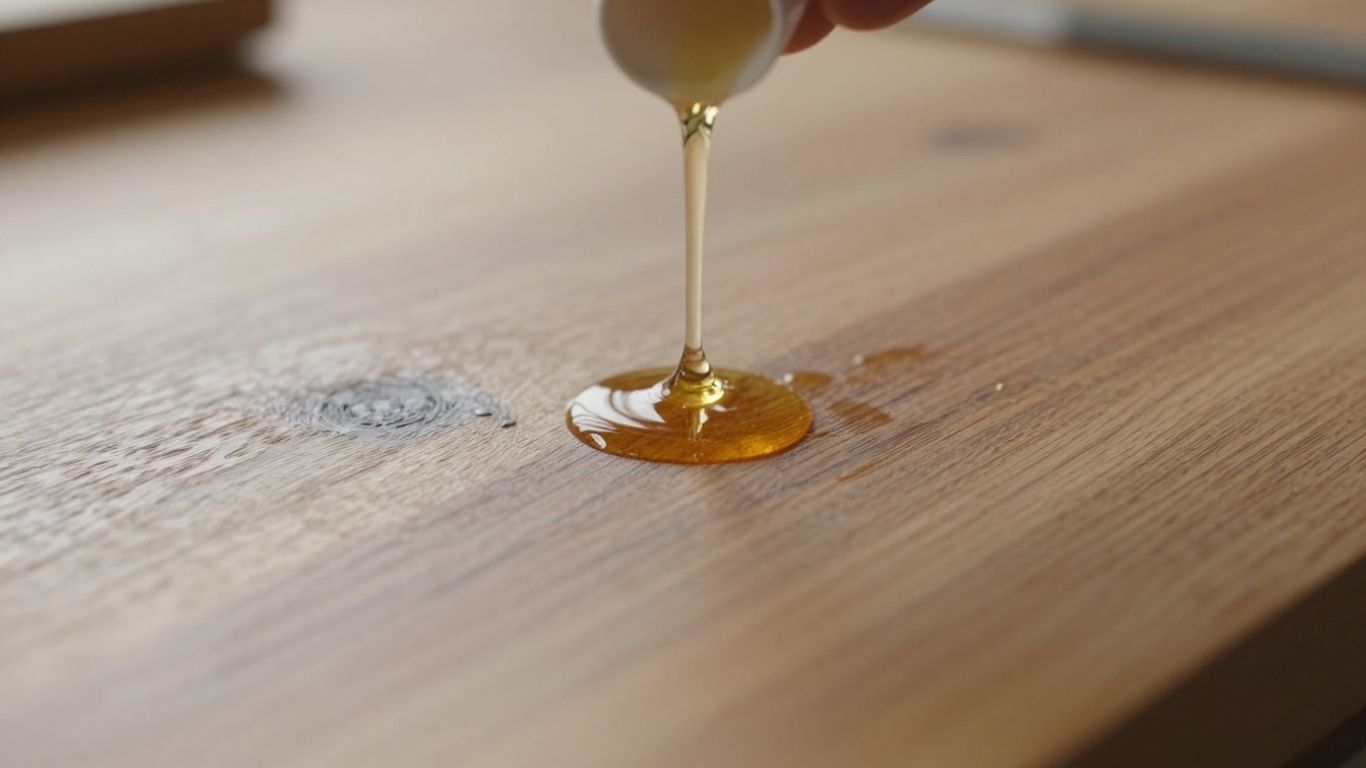
While the old ways of oiling wood have a certain charm, things have definitely moved forward. We're seeing some really interesting new products that take the best parts of traditional oils and add some modern improvements. It's not just about faster drying times anymore; it's about smarter protection and finishes that are easier to live with.
The Osmo TopOil Advantage
Osmo TopOil is a good example of this progress. It's a blend of natural oils and waxes, designed specifically for wooden worktops. What's neat about it is that it penetrates the wood like a traditional oil but also leaves a protective wax layer on the surface. This means you get that lovely, natural look and feel of oiled wood, but with added resistance to spills and wear. It's a bit like getting the best of both worlds. This hybrid approach offers a durable finish that's still repairable, which is a big win for busy kitchens.
Oil and Wax Hybrid Benefits
These oil and wax combinations are becoming really popular for a reason. They combine the deep protection of oil with the surface resilience of wax. Think about it: the oil soaks in and conditions the wood from within, preventing it from drying out. The wax then sits on top, creating a barrier that helps repel water and dirt. This dual action means your worktops are better protected against everyday knocks and spills. Plus, they often have a softer sheen than a fully waxed finish, which many people prefer.
Food-Safe Formulations for Kitchens
One of the biggest leaps forward is the availability of truly food-safe finishes. For kitchen worktops, this is a game-changer. You don't have to worry about chemicals leaching into your food when you're preparing meals. These formulations are designed to be non-toxic and safe for direct food contact once cured. This makes them ideal for surfaces where you'll be chopping vegetables or serving food directly. You can find excellent food-safe solutions designed specifically for these demanding environments. It gives you peace of mind, knowing your worktop is both beautiful and safe for your family.
The development of these advanced wood oils means you no longer have to choose between a natural look and robust protection. Modern formulations are engineered to offer both, often with simpler application and maintenance routines than their predecessors. This makes them a practical choice for anyone looking to protect their wooden surfaces without compromising on aesthetics or safety.
Here's a quick look at what makes these modern options stand out:
- Enhanced Durability: Better resistance to water, stains, and general wear.
- Ease of Application: Often designed for simpler, more foolproof application.
- Food Safety: Many formulations are certified safe for food preparation areas.
- Repairability: Minor scratches or wear can often be touched up easily without needing to refinish the entire surface.
- Aesthetic Versatility: Available in a range of sheens and colours to suit different styles.
Achieving the Perfect Finish: Application and Maintenance
So, you've picked out the perfect wood oil for your worktops. Awesome! But now comes the part where you actually make it happen. Getting this right means your worktops will look great and last for ages. Mess it up, and well, you might be looking at a sticky situation or a finish that just doesn't hold up. It’s not rocket science, but a little care goes a long way.
Essential Surface Preparation Steps
Before you even think about opening that can of oil, you've got to get the wood ready. This is probably the most important step, honestly. If the surface isn't prepped right, the oil won't soak in properly, and your finish will look patchy.
Here’s what you need to do:
- Clean it up: Make sure the worktop is totally free of dust, grease, or any old finishes. If you're dealing with an old finish, you'll need to strip it back to bare wood. Seriously, get it spotless.
- Sand it down: Grab some sandpaper, usually around 240-grit is a good starting point for worktops. You want to sand with the grain, not against it. This opens up the wood pores so the oil can really get in there. After sanding, vacuum up all the dust. Don't use a damp cloth here; it can make the grain stand up weirdly.
- Check for moisture: Make sure the wood is completely dry. If it's too damp, the oil won't cure properly.
Skipping these prep steps is like trying to paint a dirty wall. It just won't end well, and you'll be kicking yourself later.
Applying Your Chosen Wood Oil
Alright, prep is done. Time for the fun part! Applying the oil is where you see the transformation happen. The key here is thin, even coats. Don't be tempted to slather it on thick, thinking more is better. It's not. You'll just end up with a sticky mess that takes forever to dry.
- First Coat: Pour a little oil onto a lint-free cloth or a good quality brush. Work it into the wood, going with the grain. Make sure you cover every bit, including the edges and corners. Let this coat soak in and dry according to the product's instructions – usually a few hours.
- Second Coat (and maybe more): For new or bare wood, you'll likely need at least two coats. Apply the second coat the same way as the first. This builds up the protection. Some people like to apply a third coat, especially on high-use areas like around the sink. Again, let each coat dry fully before applying the next.
- Wipe off the excess: After each coat, and especially the final one, use a clean, dry cloth to wipe away any oil that hasn't soaked in. This prevents a sticky surface. You want the oil to be in the wood, not sitting on top.
For a really good finish, consider using a product like Osmo TopOil, which combines oil and wax for extra durability. You can find out more about Osmo products and their application.
Ongoing Care and Reapplication
Once your worktops are oiled and looking sharp, you need to keep them that way. Regular cleaning and occasional reapplication will keep them protected and looking their best.
- Daily Cleaning: Just use a damp cloth to wipe up spills. Avoid soaking the worktops, as standing water is the enemy of oiled wood. For tougher spots, a mild soap or a dedicated wood cleaner is usually fine. Just make sure to wipe it dry afterward.
- Reapplication: How often you need to reapply oil depends on how much you use your worktops and the type of oil you used. For kitchen worktops, you might need to re-oil every year or two. You'll know it's time when the wood starts to look a bit dull or water doesn't bead up on the surface anymore. Just give it a light clean, maybe a very fine sanding if needed, and apply a thin coat of oil, following the same application steps as before. It’s much easier to do a quick refresh than to fix major damage.
- Dealing with Marks: If you get a scratch or a stubborn stain, don't panic. Most oils allow for easy spot repairs. You can often just sand down the affected area and reapply oil just to that spot. It blends in pretty well, which is one of the big wins of using oil over varnish.
Why Wood Oil Outperforms Other Finishes
When you're looking at ways to protect your wooden worktops, you'll see a bunch of different options out there. Varnish is one of them, and it definitely has its place. It sits on top of the wood, creating a hard shell. This shell is pretty good at stopping scratches and spills from getting in. But, and it's a big but, it can look a bit plasticky. Plus, if you get a scratch or a ding, you often have to sand the whole thing down and start over. It's not exactly user-friendly for repairs.
Limitations of Varnish on Worktops
Varnish forms a surface film, which means it's a distinct layer sitting on top of the wood. This barrier is effective against immediate spills and can resist some surface abrasion. However, this film can be prone to cracking or chipping over time, especially with the kind of wear and tear a kitchen worktop experiences. Think about dropping a heavy pot or sliding something across the surface – varnish can show damage more readily than an oil finish. It also doesn't allow the wood to 'breathe' in the same way oil does, which can sometimes lead to issues if moisture gets trapped underneath.
Ease of Repair Compared to Varnish
This is where wood oil really shines. If your worktop gets a scratch or a dull spot, you don't need to strip the entire surface. You can usually just clean the affected area and reapply a bit of oil. It blends right in. This makes touch-ups and ongoing maintenance so much simpler. For example, if you spill something acidic that slightly etches the surface, a quick re-oil can often make it look like new again. It’s a much more forgiving finish for busy homes. You can find great options for kitchen worktop oil that make this process straightforward.
Maintaining Natural Wood Appearance
One of the biggest draws of wood oil is how it works with the wood, not against it. Instead of forming a barrier, oil soaks in, nourishing the timber and bringing out its natural grain and colour. It gives the wood a lovely, soft sheen that feels natural to the touch. You still get protection, but the wood still looks and feels like wood. It’s a subtle difference, but it makes a big impact on the overall look and feel of your kitchen. This is a key reason why many people prefer oil over something like varnish, which can obscure the wood's natural beauty. Deciding between oil and varnish can come down to this very point, and understanding the differences helps you make the best decision for your project.
Wrapping It Up
So, when it comes down to it, picking the right finish for your wooden worktops is a pretty big deal. We've talked about why varnish isn't usually the best fit for a busy kitchen – it can crack, it's a pain to fix, and honestly, it's just not ideal for food prep. Instead, going with a good wood oil, like the Osmo TopOil we mentioned, really makes a difference. It soaks into the wood, gives it a tough surface, and still lets the wood look like, well, wood. Plus, fixing up little scratches is way easier. Remember, a little bit of care goes a long way in keeping your kitchen looking great for years. If you're still scratching your head about what to use, don't hesitate to ask the experts – they're there to help you get it just right.
Frequently Asked Questions
What exactly is wood oil, and how does it protect my worktops?
Wood oil is like a special liquid that soaks into the wood, kind of like how a sponge soaks up water. It goes deep inside the wood to make it stronger and stops moisture from getting in. It also creates a protective shield on the surface, keeping your worktops safe from spills and everyday wear and tear. Think of it as giving your wood a healthy drink and a cozy blanket at the same time!
Why is wood oil a better choice for kitchen worktops than varnish?
Varnish is like a hard plastic coat that can crack when the wood moves, which it naturally does with changes in temperature and moisture. It's also a pain to fix if it gets scratched – you often have to sand and redo the whole thing! Wood oil, on the other hand, flexes with the wood, is much easier to repair (just a quick re-oil in the damaged spot!), and many are safe for food prep, which is super important in a kitchen.
What's the difference between Danish oil, Tung oil, and Teak oil?
Danish oil is a good all-around choice that's easy to use and protects well. Tung oil is known for giving a very pure, natural look and is great at repelling water. Teak oil is often used for outdoor wood because it's really good at handling weather, but it can also work well on indoor wood that needs extra protection.
What are these new 'oil and wax' hybrid finishes, like Osmo TopOil?
These are like a super-team of protection! The oil part sinks in deep to strengthen the wood, while the wax part creates a tough, water-repellent layer on top. This combo is really durable, helps prevent stains from things like wine or coffee, and still lets the wood look natural, not plasticky. Plus, they're usually safe for food prep!
How do I get my worktops ready before I apply the oil?
First, make sure your worktop is totally clean and dry. If there's any old finish like varnish or paint, you have to get rid of it completely down to the bare wood. Then, give it a good sanding, starting with rougher paper and moving to finer ones so the surface is smooth. Finally, wipe away all the dust really well with a vacuum or a dry cloth – don't use a wet one, or it might make the wood fuzzy!
How often do I need to re-oil my worktops?
It really depends on how much you use your kitchen! If you have a busy kitchen where you chop and spill things often, you might need to re-oil every few months, especially if the wood starts looking dry or dull. For less busy areas, once or twice a year is usually enough to keep them looking great and protected.


