

DIY Cement Worktop: A Stylish and Affordable Countertop Alternative
GMS Kumar
Thinking about updating your kitchen or bathroom counters but wincing at the price tags? You're not alone. High-end countertops can really eat into a renovation budget. But what if I told you there's a way to get a stylish, custom look without breaking the bank? We're talking about a DIY cement worktop. It might sound a little daunting, but it's totally doable and can give your space a really unique, modern vibe. This guide will walk you through everything you need to know to create your own amazing cement worktop.
Key Takeaways
- A cement worktop offers a stylish and budget-friendly alternative to expensive countertop materials.
- Careful planning is needed, including gathering the right tools and materials for your cement worktop project.
- Creating custom molds and ensuring a proper mix are vital steps before pouring your cement worktop.
- Proper pouring, curing, and finishing techniques are important for a durable and attractive cement worktop.
- Regular cleaning and sealing will help maintain the beauty and longevity of your new cement worktop.
Understanding Your Cement Worktop Project
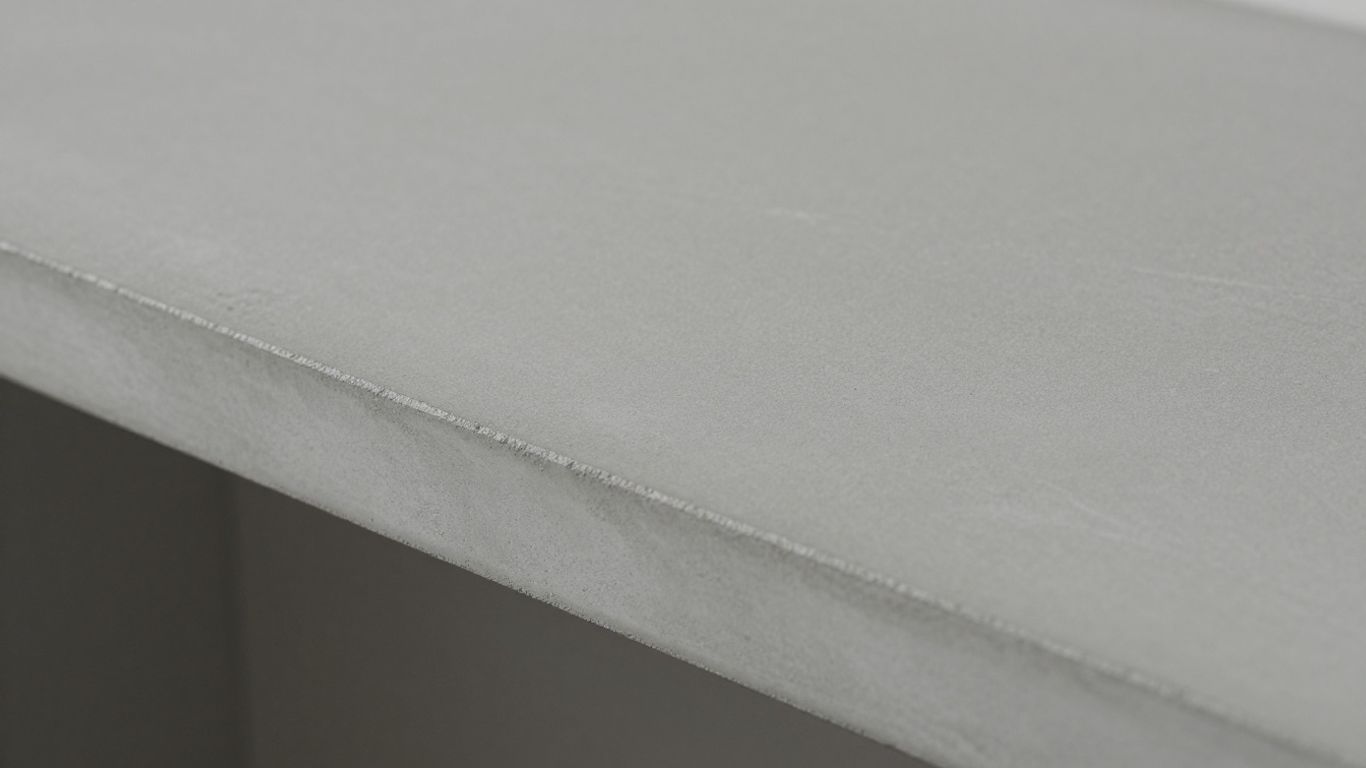
So, you're thinking about a cement worktop for your kitchen or bathroom? That's awesome! It's a really cool way to get a high-end look without, you know, the super high-end price tag. It's definitely a project that takes some planning, but the payoff is a totally unique and durable surface that you can really make your own. Let's break down what goes into it.
Why Choose A Cement Worktop?
Honestly, cement countertops are gaining popularity for good reason. They offer a really distinct, modern aesthetic that can fit into a lot of different kitchen styles, from industrial chic to minimalist modern. Plus, they're incredibly tough. When done right, a concrete countertop can last for decades. Unlike some other materials, you can customize the color, shape, and even embed things into it if you're feeling adventurous. It's a chance to get something truly custom.
Budgeting For Your Cement Worktop
Okay, let's talk money. While DIY concrete countertops are way cheaper than hiring professionals, they're not exactly free. You've got to factor in the cost of the cement mix, any colorants or additives, mold-making materials, and finishing supplies like sealers and polishes. It's smart to get a rough estimate before you start.
Here's a general idea of what you might spend:
| Item | Estimated Cost Range |
|---|---|
| Cement Mix | $20 - $50 |
| Reinforcement (Mesh) | $15 - $30 |
| Mold Materials (Plywood, Silicone) | $30 - $70 |
| Sealers & Polishes | $25 - $60 |
| Colorants/Additives | $10 - $40 |
| Total Estimated | $100 - $250+ |
Keep in mind, these are just ballpark figures. Your actual costs will depend on the size of your worktop, the specific products you choose, and where you live. It's always a good idea to check out resources for tools and materials to get current pricing.
Essential Tools And Materials
Getting the right stuff together beforehand makes the whole process smoother. You don't want to be halfway through and realize you're missing something.
Here's a basic rundown of what you'll likely need:
- Mixing: Buckets, a sturdy mixing paddle (or a dedicated mixer), a trowel, and a level.
- Molding: Plywood for the mold base, melamine board or similar for the sides, silicone caulk and a caulking gun for sealing edges, screws, and a drill.
- Cement Work: Your chosen concrete mix (like Quikrete), water, any pigments or additives, and reinforcement mesh (fiber mesh is common).
- Finishing: Sanding blocks or an orbital sander with various grit sandpaper, concrete sealer, and polishing pads.
Building your own concrete worktop is a rewarding project, but it requires patience and attention to detail. Don't rush the process, especially when it comes to mixing and curing. The final result will be worth the effort.
Getting started with the right materials for your project is half the battle. Once you have everything, you're ready to move on to the fun part: making those molds!
Preparing For Your Cement Worktop Installation
Alright, so you've decided to go with a cement worktop – awesome choice! Now comes the part where we get everything ready for the actual pouring. This stage is super important, and honestly, it's where a lot of the magic happens before you even mix a single bag of cement. Getting this right means a smoother process and a much better final product.
Creating Your Custom Molds
This is where you get to be a bit of an architect. Your mold is basically the negative space of your finished countertop. Most DIYers use melamine board for this because it's smooth, relatively inexpensive, and easy to cut. You'll need to measure your space precisely and build a sturdy box that fits exactly where you want your worktop to go. Make sure all the corners are square and the seams are tight. You can use screws to hold it together, but then you'll want to seal all the inside edges with silicone caulk. This is a biggie – it prevents leaks and gives you those nice, clean, rounded edges on your finished piece. Think of it like drawing a picture; the mold is your canvas, and you want it to be perfect before you start painting.
- Measure your cabinet base twice (or thrice!).
- Cut melamine boards to size for the sides and bottom of your mold.
- Assemble the mold using screws, ensuring it's square and level.
- Apply a bead of silicone caulk along all interior seams and corners. Smooth it out for a clean edge.
- Consider adding a melamine bottom if you're pouring in place, or plan for a sturdy base if you're pouring off-site.
Mixing The Perfect Cement Blend
This isn't just about dumping powder and water together. The mix is everything for strength and appearance. You'll want to use a good quality concrete mix, often one designed for countertops or with a higher strength rating like Quikrete 5000. The ratio of water to mix is critical. Too much water, and it'll be weak and prone to cracking. Too little, and it'll be hard to work with and might not fill the mold properly. It's best to follow the manufacturer's instructions closely, but often a slightly thicker, workable consistency is ideal. Mixing in a large bucket or a wheelbarrow works well. You're aiming for a uniform color and texture, with no dry pockets. Some people add pigments at this stage for color, but we'll get to that later.
The consistency you're looking for is often described as 'thick oatmeal' or 'peanut butter'. It should hold its shape somewhat but still be pourable.
Reinforcing Your Cement Worktop
Concrete is strong in compression, but not so much in tension. That's where reinforcement comes in. For a worktop, you'll typically want to embed some kind of mesh or rebar into the concrete. This adds tensile strength and helps prevent any potential cracking over time. You can use fiberglass mesh, steel rebar, or even wire mesh. The key is to position it so it's suspended in the middle of the concrete slab, not sitting on the bottom or touching the sides of the mold. You can use small plastic spacers or even bits of plastic to hold it up. This step is often overlooked by beginners, but it's a really important part of making sure your cement countertop lasts for years to come. You'll need a good set of essential tools for this part, including things like wire cutters and possibly a small saw to cut your reinforcement material to size.
Pouring And Curing Your Cement Worktop
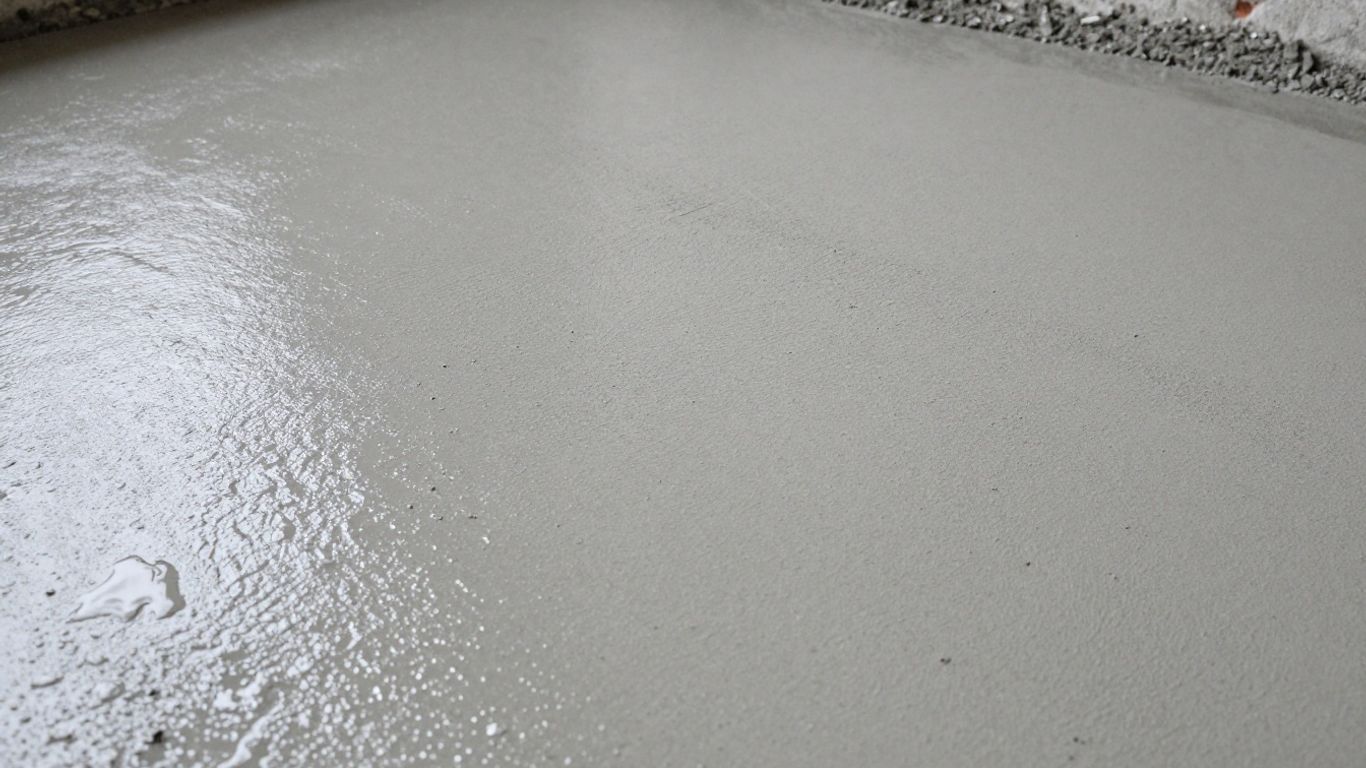
Alright, so you've got your molds ready, your cement mix is looking good, and you're about to take the plunge. This is where the magic really happens, but also where things can go a little sideways if you're not careful. Pouring and curing are super important steps for getting that smooth, strong finish you're after.
Pouring Techniques For A Smooth Finish
Getting a nice, even surface without a bunch of air bubbles is the goal here. First off, work steadily. Don't just dump the whole batch in at once. Pour it into the mold in sections, using a trowel or spatula to gently spread it out. This helps push out air pockets. You can also tap the sides of the mold lightly with a rubber mallet or a piece of wood. This vibration helps the air bubbles rise to the surface where you can pop them or smooth them over. The key is to work the cement into all the corners and edges of your mold. If you're using a mold with intricate details, a smaller trowel or even a paintbrush can help you get the cement into those tight spots.
The Importance Of Proper Curing
This is probably the most overlooked part of the whole process, but it's a big deal. Curing isn't just letting it dry; it's a chemical process where the cement gains strength. If you rush this, your countertop might end up weak or prone to cracking. You need to keep the cement moist for several days. This can be done by covering it with plastic sheeting or damp cloths. The exact time can vary depending on the type of cement mix you used and the temperature, but generally, you're looking at at least 7 days, and sometimes up to 28 days for maximum strength. For outdoor kitchen projects, proper curing is especially important to handle weather changes this guide details how to create stylish DIY concrete countertops for your outdoor kitchen.
Troubleshooting Common Pouring Issues
Sometimes, despite your best efforts, things don't come out perfectly. If you notice small pits or holes on the surface after demolding, don't panic. These are often caused by trapped air bubbles. You can usually fill these with a slurry mix (cement powder mixed with water to a paste consistency) and then sand them down later. If you have larger cracks, it might be due to improper reinforcement or issues with the mold. For surface imperfections, you can often fix them during the sanding and polishing stage. If you're building a mold with specific edges, like a waterfall edge, make sure your mold is perfectly sealed to prevent leaks this guide details how to construct DIY concrete countertops.
Curing is a slow and steady process. Think of it like letting a good wine age – you can't rush it if you want the best flavor. For concrete, patience during curing means a stronger, more durable countertop that will look great for years. Don't be tempted to uncover it too early or expose it to extreme temperature changes.
Finishing Your New Cement Worktop
Alright, so you've poured your concrete, and it's cured. Now comes the part where you really make it shine – literally. This is where we turn that rough slab into a smooth, stylish centerpiece for your kitchen or bathroom.
Sanding And Polishing For A Sleek Look
This is where the magic happens. You'll want to start with a coarser grit sandpaper, maybe around 80 or 100, to knock down any high spots or imperfections. Don't go crazy, just smooth things out. Then, you'll gradually move to finer grits – 200, 400, 800, and even higher if you're feeling ambitious. The goal is to achieve a surface that feels like polished stone. You can do this by hand, but honestly, a random orbital sander will save you a ton of time and effort. If you want that super glossy, almost wet look, you can even use a wet polishing system, but that's a bit more advanced.
Sealing Your Cement Worktop For Durability
Once you've got that beautiful smooth finish, you absolutely have to seal it. Concrete is porous, meaning it can soak up spills like a sponge, leading to stains. A good sealer creates a barrier. There are a few types out there, but for a natural look, a penetrating sealer is often a good choice. You'll want to apply it according to the manufacturer's instructions, usually with a microfiber cloth or a foam applicator. Make sure the surface is completely clean and dry before you start. You might need a couple of coats. For a more polished look, an electric buffer with a cloth bonnet can be used to naturally seal concrete countertops.
Adding Color And Customization
Who says concrete has to be boring gray? You can totally customize your worktop. Pigments can be added directly to the cement mix before pouring for an all-through color. Or, you can use stains or dyes on the surface after sanding for a more varied look. Think about adding embedded objects like glass or metal pieces for a unique touch. You could even try a concrete overlay for a different texture. The possibilities are pretty wide open here.
Remember, patience is key during the finishing stages. Rushing through sanding or sealing can lead to a less-than-perfect result. Take your time, follow the steps, and you'll be rewarded with a worktop you're proud of.
Maintaining Your Beautiful Cement Worktop
So, you’ve gone through the whole process – the mixing, the pouring, the curing – and now you have this gorgeous, custom cement worktop. Awesome! But like anything you put effort into, it needs a little TLC to keep it looking good. Don't worry, it's not rocket science, just some simple habits.
Daily Cleaning and Care
For everyday messes, like crumbs after making toast or a little spill, you really don't need anything fancy. A soft cloth or sponge with a bit of warm water is usually all it takes. Just wipe it down. If you've got something a little stickier, a mild, pH-neutral cleaner works wonders. Avoid anything harsh or abrasive, though; we don't want to scratch that nice finish you worked so hard on. Think of it like washing your favorite dishes – gentle is the way to go. You can find some good options for mild cleaners that are specifically made for surfaces like this.
Protecting Against Stains and Scratches
Cement is porous, which means spills can soak in if you're not careful. That's where sealing comes in, which you hopefully did during the finishing stage. But even with a good seal, it's smart to be proactive. Wipe up spills, especially things like red wine, coffee, or oil, as soon as they happen. For cutting, it's best to use a cutting board. While concrete is tough, dragging knives directly on it can eventually leave marks. If you're placing hot pans on the counter, use trivets. It’s better to be safe than sorry, right?
Long-Term Maintenance Tips
Over time, the sealant might wear down a bit, especially in high-traffic areas. You might notice water starting to bead up less. When that happens, it's time for a reseal. The frequency depends on how much you use your worktop and what kind of sealant you used, but generally, every 1-3 years is a good ballpark. You can usually tell when it's time. Just follow the same steps you did when you first sealed it. It might seem like a lot of upkeep, but honestly, it's pretty straightforward and keeps your worktop looking fantastic for years.
Taking a few minutes each day for simple cleaning and being mindful of potential hazards like hot pans or acidic spills will make a huge difference in the long run. It’s about building good habits rather than dealing with big problems later.
Wrapping Up Your Concrete Countertop Project
So, there you have it. Building your own concrete countertops might seem like a big job, and honestly, it has its moments. But looking back, it was totally worth the effort. You get this super custom look that really makes your kitchen pop, and the best part? You did it yourself, saving a good chunk of cash compared to buying something similar. It’s a project that proves you don’t need a huge budget to get a high-end feel. Give it a shot, and enjoy your stylish new workspace!
Frequently Asked Questions
Is a cement countertop a good idea for my kitchen?
Yes, cement countertops are a fantastic option if you're looking for something stylish but don't want to spend a lot of money. They offer a unique, modern look that can really upgrade your kitchen's appearance without breaking the bank. Plus, they're quite durable when you take care of them.
How much money will I need to spend on a DIY cement worktop?
The cost can vary, but doing it yourself is way cheaper than hiring someone. You'll mainly be paying for cement mix, any colorants you want, sealant, and the materials to build your molds. For many people, the total cost is around $20 to $100, depending on the size of your countertop and the specific materials you choose.
What are the most important tools and materials I'll need?
You'll need cement mix, water, and possibly some additives for strength or color. For building, you'll need plywood or melamine for your molds, screws, caulk, and a way to smooth the surface like a trowel. Don't forget safety gear like gloves and glasses, and tools for mixing and pouring.
How do I make sure my cement countertop looks good and isn't rough?
Getting a smooth finish comes from careful preparation. Use a good mold that's sealed well. When you mix the cement, aim for a consistency like thick pancake batter. After pouring, smooth the surface with a trowel. Once it's cured, you can sand and polish it to get a really sleek look.
Will my cement countertop get stained or damaged easily?
Cement can be a bit sensitive to stains and scratches if not protected. That's why sealing your countertop is super important. A good sealant will make it water-resistant and help prevent most common kitchen spills and marks from causing damage. Regular cleaning also helps a lot.
Can I add color or design to my cement worktop?
Absolutely! You can add color to your cement mix using special concrete pigments. You can also experiment with different pouring techniques or even embed objects like glass or stones into the surface before it hardens for a truly custom look. It's a great way to make your countertop one-of-a-kind.


