
Table of Contents
It takes a lot of hard work and sacrifices to save up for that “holy grail” new stone patio that seems far out of reach, but it is beyond worth it when stepping out onto that new patio for the first time.
Grand patios are an investment but can turn a property from mundane to breathtaking. However, before the beautiful paving stones are laid and the patio furniture is set up, there is a messy, overwhelming reality that must be faced: the excavation.
While it is important for homeowners to be happy with what their patio looks like, the most crucial part to a patio build is how it is constructed. A structurally sound base is required so that the patio does not shift or sink over time. That means digging out a significant amount of soil, clay, and grass. Dealing with this waste efficiently is the difference between a smooth project and a chaotic nightmare.
The Reality of Patio Excavation
Picture walking out to the backyard ready to start a patio project. One instantly feels relaxed and calm thinking about the end result. But then the digging begins.
Many homeowners drastically underestimate how much dirt comes out of the ground when preparing for a paver patio. To build a patio that will last for decades without shifting, the area needs to be excavated at least 6 to 8 inches deep to allow for strong, compactible, free-draining gravel, a layer of bedding sand, and the thickness of the pavers themselves.
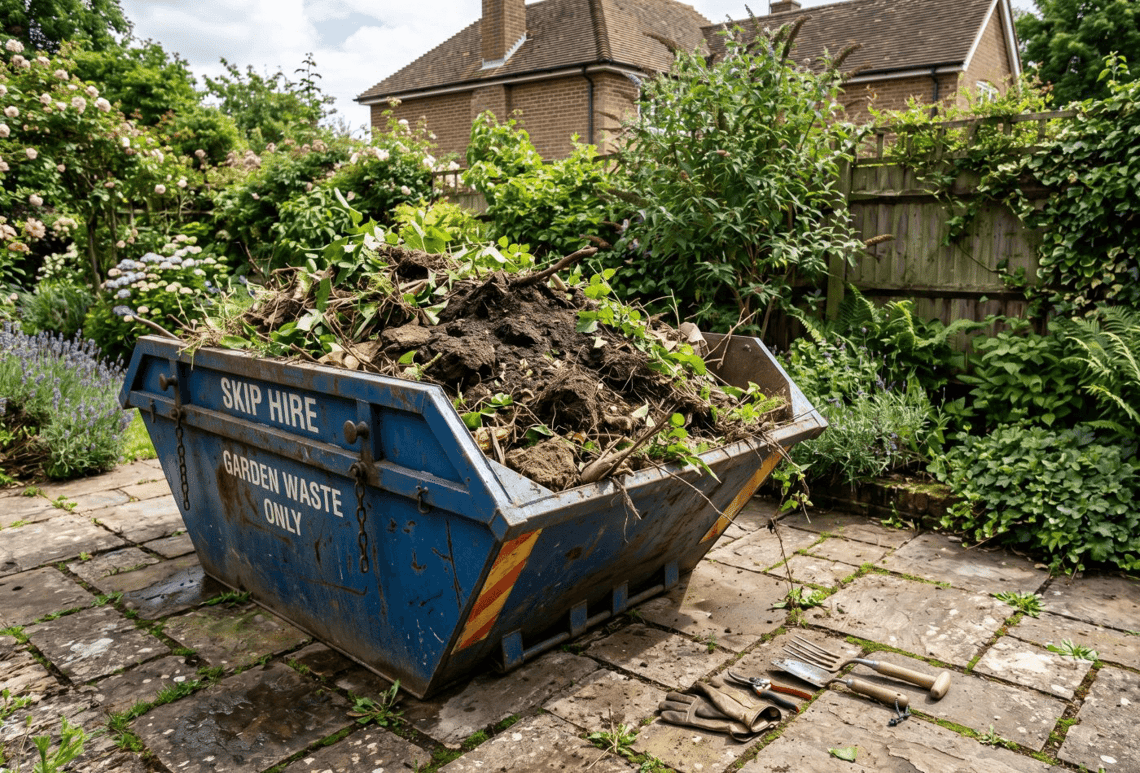
When that volume of soil is dug up, it expands. What looked like a flat piece of lawn quickly turns into a massive, unsightly mountain of dirt that takes over the entire yard. The deeper the dig, the more material comes out, and clay soils in particular tend to clump up and take up even more volume once disturbed.
Because dirt is so dense, a massive pile can easily exceed standard skip hire weight limits, making proper waste management essential right from the start. Having a clear plan for removing this waste provides peace of mind and keeps the project moving forward without unwanted delays or stressful cleanups.
Why a Skip is the Best Choice
It might seem like a good idea to haul the dirt away in a personal vehicle or hire a man-with-a-van. However, the sheer weight and volume of excavated soil make these options impractical and physically exhausting. After a long day of digging in the heat, the last thing anyone wants is to do multiple trips to the local dump.
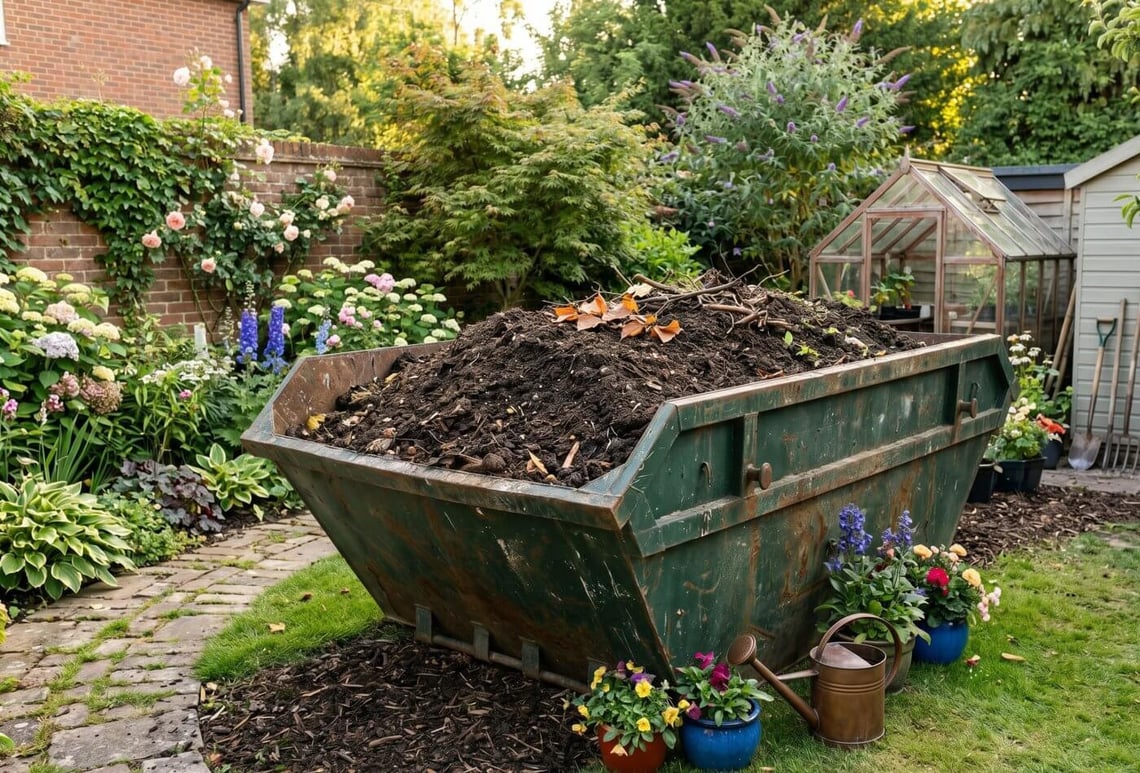
A skip offers a simple, centralised location to dump wheelbarrow after wheelbarrow of heavy clay and soil. It keeps the job site safe, clean, and organised, eliminating tripping hazards and making the physical toll on workers much lighter. Tripping hazards are especially dangerous for people with mobility issues and for children and pets. Keeping the excavated dirt contained in a metal bin means the rest of the backyard remains usable and safe throughout the duration of the patio installation.
Choosing the Right Size for the Job
Not all skips are created equal, and choosing the right size can dictate how smoothly the excavation goes. To give an idea of what works best for certain projects, here is a breakdown of typical skip sizes for patio excavations.
The 4-Yard Midi Skip
This is a great option for smaller patio projects, perhaps a 10’ x 10’ space where a small table, chairs, and a BBQ will go. It holds the equivalent of about 40 bin bags of waste. This size is welcoming for a weekend DIY project, providing enough room for the topsoil and grass without taking up the entire driveway.
The 6-Yard Builders Skip
For a standard 15’ x 15’ paver patio, this is the go-to choice. It is heavily used in the construction industry for good reason. It holds a substantial amount of heavy rubble and soil, making it perfect for an average backyard renovation. With a 6-yard skip, there is no need to worry about running out of space halfway through the dig.
The 8-Yard Builders Skip
If the outdoor space being renovated is a luxury, sprawling 30’ x 30’ area with raised tiers and an outdoor kitchen, a larger skip is necessary. This size handles massive amounts of waste and is great for projects that involve tearing down old wooden decks or removing bulky hardscape materials alongside the dirt. However, there is a catch when it comes to filling these larger containers with nothing but heavy earth.
The Weight Dilemma and Skip Regulations
One thing that really sticks out when digging a patio is just how heavy earth can be. Soil, clay, and rubble are incredibly dense materials. While an 8-yard skip has the volume to hold a massive amount of waste, filling it entirely to the brim with heavy soil is often not permitted.
Skip lorries have maximum lifting capacities. If a large skip is overloaded with dense dirt, the truck simply will not be able to lift it off the driveway, leaving the homeowner stuck with a giant metal box of dirt. Because of this, it is critical to adhere to heavy waste restrictions. Understanding local weight limits is crucial when planning the disposal of heavy garden clearance materials like soil and rubble. Often, suppliers will restrict heavy waste to a maximum of a 6-yard skip to ensure safe and legal transport.
Site Challenges and Placement
One of the most common problems with a patio build is site challenges. Narrow access points or steep driveways can make placing a skip difficult. Without the proper space, hauling materials back and forth can take a physical and mental toll on the people building the patio.
It is important to ensure the driveway is wide enough for the lorry to reverse in safely, avoiding overhanging branches or low-hanging power lines. Furthermore, full skips are extremely heavy and can potentially scratch or damage block paving or tarmac driveways. Placing wooden planks down before the skip arrives provides a protective barrier, ensuring the driveway looks just as good when the skip leaves as it did before it arrived. Careful planning regarding where the skip is dropped off also means less distance to wheelbarrow the heavy dirt, saving time and energy.
How Weather Affects the Excavation
Unpredictable weather can easily throw a wrench into any landscaping project. When planning the excavation and waste removal, weather plays a massive role. If it rains heavily while the soil is sitting in the skip, that dirt absorbs the water like a sponge.
Wet soil weighs significantly more than dry soil. A skip that was perfectly within the weight limit on a dry Tuesday could suddenly become overweight and unliftable after a torrential downpour on Wednesday. Covering the skip with a heavy-duty tarp during rainstorms is a critical step that cannot be afforded to be skipped. It keeps the weight down and avoids unsightly messes washing onto the driveway.
Getting Back to the Fun Part

Dealing with the dirt is the hardest, most gruelling part of any hardscape project. But once that base is dug out and the heavy soil is hauled away, the real magic begins. It allows the exciting process of laying the concrete pavers, adding accent borders, and watching the dream space come to life to finally begin.
With the waste management efficiently handled, there is nothing left to do but finish the build, set up the outdoor lounge area, and get ready to host friends and family on a breathtaking new stone patio that will knock the socks off of any guests.